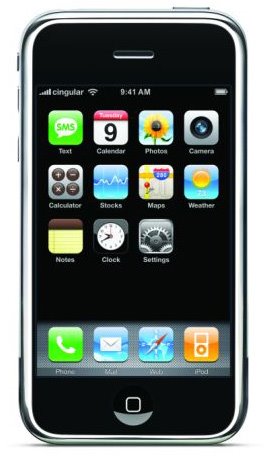
Got yourself an iPhone, explored it, experimented with the many applications and now wondering what next? You may be curious as to how iPhone apps are created and How to build an iPhone app?" There are a number of methods and tools you can use for this.
The following steps will help you build an iPhone app with ease;
Create a new iPhone project
Generate a view for the app
Add elements to the view
Implementation
To start off, you need to create a new project. For this, you need to get the Xcode software and launch it. Select file and open the new project dialogue. This will display a number of default project templates. You need to click on iPhone OS and select the "Window-based application" option.
Once this is done, select "Choose" and enter a name for your project. Let's take "iPhoneapp" as an example. If you press "Build and Go" now, it will display your application which will now appear as a blank white screen.The next step in your quest to discover how to build an iPhone app includes creating a view for your application. The view will contain all the interface elements that you wish to display in your app. For this you need to launch the interface builder, click file and open a new file. Click Cocoa Touch in the selector; select "View" and then select "Choose". You can use other elements of the interface builder
helping you preview the interface and also add other elements.Once you are done with this, you have to add elements to the view you just created. For this, open the library window and select "Inputs and Views". Click on "Label", drag it to the new window and release it. Now, if you want to play around with the characteristics of the label, you need to open the Inspector window to edit the text in the label. Once created, save the View file in the same folder as the project that you created in the first step.
When you save the view, a dialogue box will ask which project you want the view to be a part of. Check the box next to your project.For the final step, all you need to do is open a new file like you did in the previous steps selecting the Cocoa Touch Class. Select the "UIViewController subclass" item and type in a file name to the effect of "iPhoneappViewController". Now click finish and switch back to the Interface Builder.
Then select "File's Owner" and open the identity tab. Type "iPhoneappInterfaceController" in the Identity text box that says "NSObject". In order to associate the view object with the view instance variable, you need to click on Connections and open it. Click "File's Owner" and activate the plus sign near the "view" variable by rolling the mouse over the circle next to it. Click here and drag the mouse to the document window to highlight the view item. You'll notice a blue line between the outlet and the selected view item. Release the button to establish the connection.
Once you are done with this, all you need to do is to open the "iPhoneappAppDelegate.h" and "iPhoneappAppDelegate.m" files and replace their contents with codes available on the internet and voila, you have your very own iPhone application. This is pretty much all you need to know about how to build an iPhone app for starting out.
iAutoblog the premier autoblogger software


0 comments:
Post a Comment